Are you facing the dilemma of a ripped subwoofer surround? Don’t worry, you can easily repair it with the right guidance. In this blog post, we will provide you with a comprehensive, step-by-step guide on how to fix a ripped subwoofer surround. Whether the tear is small or large, our expert tips will help you address the issue and restore the optimal performance of your subwoofer. Before you begin, make sure to check out our related article on fixing a blown subwoofer for additional insights.
Bass Drop Blues: How to Fix a Blown Subwoofer
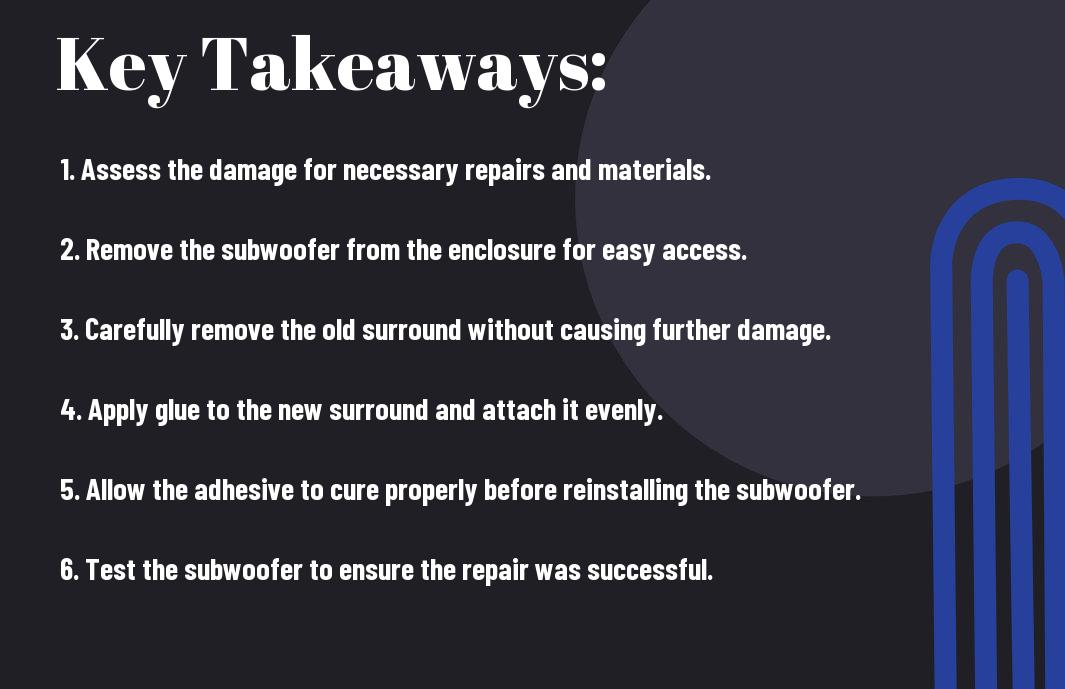
Key Takeaways:
- Identify the damage: Before beginning any repair, it’s crucial to thoroughly inspect the subwoofer surround to determine the extent of the damage. Look for tears, rips, or holes in the rubber surround that may be affecting the sound quality.
- Use the right materials: When repairing a ripped subwoofer surround, it’s important to use the proper adhesive and repair kit specifically designed for speaker repair. Using the wrong materials could result in further damage and compromise the performance of the subwoofer.
- Follow a step-by-step process: Repairing a ripped subwoofer surround is a delicate process that requires patience and precision. By following a detailed step-by-step guide, you can ensure that the repair is done correctly and the subwoofer is restored to its optimal performance.
Identifying the Damage
One of the first steps in fixing a ripped subwoofer surround is identifying the extent of the damage. This will help you determine whether the surround can be repaired or if it needs to be replaced.
Types of common Subwoofer Surround Rips
When inspecting your subwoofer surround, look for the following types of rips and damage:
- Tears: These are long cuts in the surround that can affect the overall performance of the subwoofer.
- Punctures: These are small holes or punctures in the surround that can also impact the sound quality.
- Loose or detached edges: If the surround is coming loose or detaching from the subwoofer, it can cause rattling and distortion.
- Warping: Warping of the surround can cause sound distortion and affect the overall performance of the subwoofer.
- Water damage: If there are signs of water damage on the surround, it can lead to mold and further deterioration.
Assume that any of these types of damage will impact the sound quality of your subwoofer.
Tools required during the Damage Inspection
When inspecting the damage to your subwoofer surround, you will need the following tools:
- Flashlight: To help you see the damage clearly, especially if the subwoofer is in a dark area.
- Magnifying glass: This can help you closely examine small tears or punctures in the surround.
- Gloves: To protect your hands from any sharp edges or debris.
- Clean cloth: For wiping down the surround and removing any dirt or debris.
- Measuring tape: To measure the size of the damage and determine if a repair or replacement is needed.
It’s important that you have these tools on hand to thoroughly inspect the damage and make an informed decision on how to proceed with the repair.
Preparation for the Repair
Your first step in fixing a ripped subwoofer surround is to properly prepare for the repair. This involves gathering the necessary materials and setting up a safe workspace for the repair process.
Necessary Materials
Before you begin the repair, you will need to gather a few essential materials. These include a subwoofer repair kit, which typically includes a new surround, adhesive, and sometimes dust caps. You will also need a utility knife, scissors, a small brush, and some rubbing alcohol. Additionally, it’s important to have a clean, well-lit workspace to ensure you can see the area that needs repair clearly.
Setting Up a Safe Workspace for Subwoofer Repair
When setting up your workspace for subwoofer repair, it’s crucial to prioritize safety. Make sure to work in a well-ventilated area, as some adhesives can produce strong fumes. Take the time to gather all necessary tools and materials before you begin the repair to avoid any interruptions once you’ve started. Clear the workspace of any clutter or obstacles that could potentially cause accidents, and lay down a protective covering to keep your work surface clean. Remember to always exercise caution when working with sharp tools and adhesives – wearing gloves and protective eyewear is highly recommended.
Step-by-Step Guide to Fixing a Ripped Subwoofer Surround
Now, let’s get into the nitty-gritty of fixing that ripped subwoofer surround. Below is a step-by-step guide breaking down the process into manageable tasks to help you repair your subwoofer.
Cleaning and Prepping the Ripped Area Before you begin the repair process, it’s crucial to clean and prep the area around the rip. Use a soft cloth and some mild detergent to gently clean the surface of the subwoofer surround. Make sure to remove any dirt, dust, or debris that could interfere with the adhesion of the patch or glue. |
Detailed Procedures on How to Patch or Glue the Rip Once the area is clean and dry, you can proceed with patching or gluing the rip. If you’re using a patch, carefully apply a small amount of adhesive to both the patch and the ripped area. Press the patch firmly onto the surround, ensuring that it adheres securely. If you’re using glue, apply a thin, even layer to both sides of the rip and press the edges together, holding them in place until the glue sets. |
Maintenance and Prevention
To keep your subwoofer surround in top condition, regular maintenance and preventive measures are essential. By taking proper care of your equipment, you can avoid costly repairs and ensure that your subwoofer continues to deliver high-quality sound.
Tips for Subwoofer Surround up-keep
When it comes to maintaining your subwoofer surround, there are a few key tips to keep in mind. Firstly, clean the surround regularly with a soft cloth to remove any dust or debris. Secondly, check for signs of wear and tear, such as cracks or tears, and address any issues promptly. Additionally, avoid overdriving your subwoofer, as this can put unnecessary strain on the surround. Finally, ensure that the subwoofer is placed in a well-ventilated area to prevent overheating.
- Clean the surround regularly with a soft cloth
- Check for signs of wear and tear
- Avoid overdriving your subwoofer
- Ensure the subwoofer is placed in a well-ventilated area
Assume that by following these tips, you can prolong the life of your subwoofer surround and enjoy optimal performance.
Avoiding Future Subwoofer Surround Rips
Preventing future rips in your subwoofer surround is critical to maintaining the integrity of the equipment. To avoid this, you should be mindful of the volume levels at which you listen to your subwoofer, as excessive volume can lead to strain on the surround. Additionally, avoid placing heavy objects on top of the subwoofer, as this can cause damage to the surround. Finally, store your subwoofer in a safe and secure location to prevent accidents or mishaps.
Conclusion
Drawing together all the steps and tips provided in this guide, you now have the knowledge and confidence to repair a ripped subwoofer surround on your own. Remember that the key is to take your time and follow the instructions carefully. With the right tools and materials, you can easily restore your subwoofer to its original condition and enjoy high-quality sound once again. For more information on fixing a ripped subwoofer cone, check out this helpful guide on How To Fix A Ripped Subwoofer Cone | Repair Torn Cones.
FAQ
Q: What causes a ripped subwoofer surround?
A: A ripped subwoofer surround is usually caused by wear and tear over time, or by using excessive force when cleaning or installing the subwoofer. It can also be caused by exposure to high levels of humidity or extreme temperatures.
Q: Can a ripped subwoofer surround be repaired?
A: Yes, a ripped subwoofer surround can be repaired. It is a relatively simple process that can be done at home with the right tools and materials.
Q: What tools do I need to fix a ripped subwoofer surround?
A: To fix a ripped subwoofer surround, you will need a utility knife, rubber adhesive, a small paintbrush, and a patch of surround repair material (foam or rubber).
Q: How do I fix a ripped subwoofer surround?
A: First, carefully trim any loose or frayed bits of the surround using a utility knife. Then, apply rubber adhesive to the ripped area and the patch of repair material. Once both surfaces are tacky, carefully press the patch onto the ripped area. Allow the adhesive to dry completely before using the subwoofer.
Q: How long does it take to fix a ripped subwoofer surround?
A: The entire process of fixing a ripped subwoofer surround can take approximately 1-2 hours, including drying time for the adhesive. However, this can vary depending on the size of the rip and the skill level of the person performing the repair.