Have you ever experienced the frustration of a blown subwoofer? Replacing the entire speaker may seem like the only solution, but fear not – with the right tools and knowledge, you can actually save your subwoofer by reconing it yourself. In this step-by-step guide, we will walk you through the process of reconing your subwoofer, from removing the old cone to attaching the new one. However, it is important to note that this process can be dangerous if not done correctly, so make sure to follow the instructions carefully and take necessary precautions. By the end of this post, you will have the skills to recone your subwoofer like a pro.
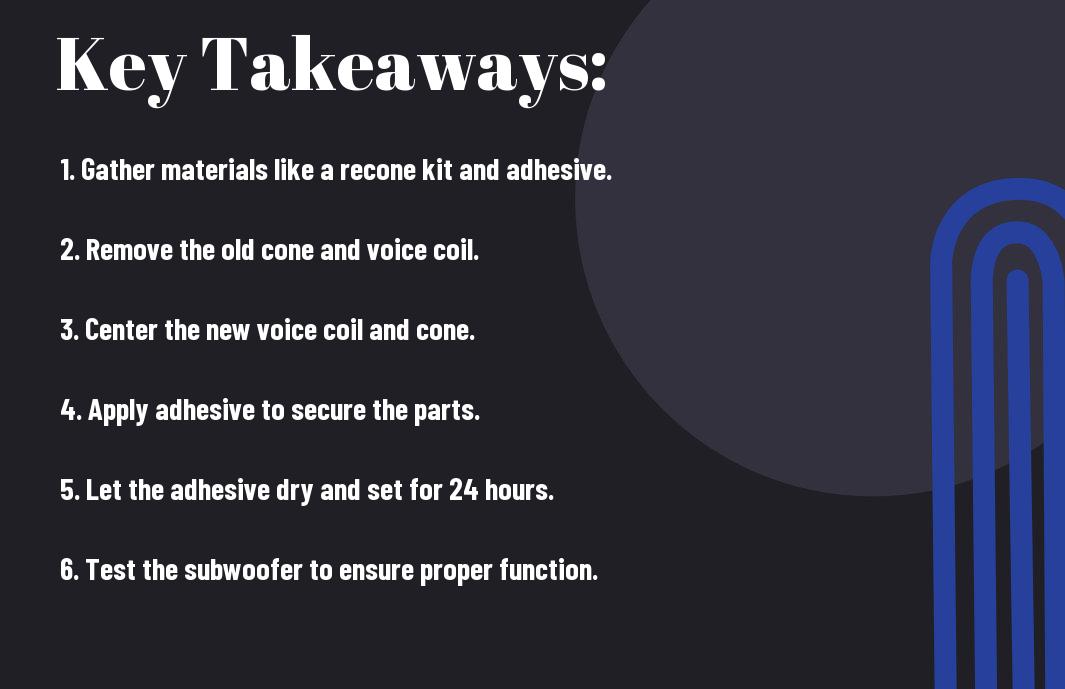
Key Takeaways:
- Understanding the Process: Recone a subwoofer requires a deep understanding of the process and the necessary tools and materials involved.
- Attention to Detail: This DIY project requires careful attention to detail to ensure the reconing process is done correctly and effectively.
- Potential Cost Savings: By learning how to recone a subwoofer, DIY enthusiasts can save money on repair costs and prolong the life of their subwoofers.
Identifying Why and When to Recone
One of the most crucial steps in the reconing process is being able to identify when and why reconing is necessary. Although it may seem like a daunting task, understanding the signs of a blown subwoofer and weighing the pros and cons of reconing versus replacing can help you make an informed decision.
Determining Symptoms of a Blown Subwoofer
When your subwoofer is blown, you may notice several symptoms, such as a decrease in sound quality, distortion, or even no sound at all. These issues can be caused by damage to the voice coil, cone, or other internal components. It’s essential to identify these symptoms early on so that you can take the necessary steps to repair or replace your subwoofer.
Weighing the Pros and Cons of Reconing vs. Replacing
Before you decide to recone your subwoofer, it’s crucial to weigh the pros and cons of reconing versus replacing. Here are some important factors to consider:
| Pros | Cons |
| You can save money by reconing your subwoofer. | Reconing may not always be successful, and you could end up spending time and money with no guarantee of success. |
| You can maintain the original sound quality of your subwoofer. | Replacing the subwoofer might be a more straightforward and less time-consuming solution. |
| You can customize the reconing process to fit your specific needs and preferences. | Reconing requires technical skill and knowledge, which may be beyond your capabilities. |
| Reconing allows you to keep a favorite or rare subwoofer model. | Reconing involves risk, and if not done correctly, it may lead to further damage to the subwoofer. |
| Reconing can be an environmentally friendly option, as you can reuse parts of the subwoofer. | Replacing your subwoofer with a new model may provide better performance and reliability. |
Step-by-Step Guide to Reconing a Subwoofer
Now, let’s dive into the step-by-step process of reconing a subwoofer. For a more in-depth guide, you can also check out our blog post on How to Recone A Subwoofer.
Materials Needed for Reconing
When you decide to recone your subwoofer, you will need a few essential materials to get the job done. In the table below, you can find a breakdown of the materials you will need before starting the reconing process:
Materials Needed
| Recone Kit | Subwoofer Adhesive |
| Glue Brush | Clean Cloth |
| Screwdriver Set | Sharp Knife |
Detailed Procedure of Reconing
The reconing process involves several detailed steps that you need to follow carefully to ensure a successful reconing. Here is a breakdown of the detailed procedure:
Step 1: Disassembling the Subwoofer – You will start by carefully disassembling the subwoofer, removing the cone, surround, and voice coil.
Step 2: Cleaning and Preparing – Once disassembled, you need to clean the components thoroughly and prepare the frame for the new parts.
Step 3: Installing the New Parts – Next, you will install the new cone, surround, and voice coil using the recone kit and adhesive.
Step 4: Testing and Reassembling – After the new parts are installed, you need to test the subwoofer and reassemble it before putting it back in your audio system.
By following these steps and paying close attention to the details, you can successfully recone your subwoofer and restore its performance.
Tips and Recommendations for the DIY Enthusiast
After successfully reconing your subwoofer, it’s important to properly test the newly reconed sub to ensure it is working as expected. Make sure to check for any abnormal noises or distortion in the sound. Additionally, always double-check the polarity of the reassembled speaker to avoid any phase issues that can affect sound quality. When reconing a subwoofer, use the appropriate adhesives to ensure a secure bond between the cone, voice coil, and spider. It’s also essential to thoroughly clean the components before applying any adhesives to ensure a proper bond. This will help prevent any future delamination or separation.
- Test the reconed subwoofer thoroughly
- Check the polarity after reassembly
- Use appropriate adhesives
- Thoroughly clean the components before applying adhesives
This will ensure the best performance and longevity for your reconed subwoofer.
How to Avoid Common Reconing Mistakes
When reconing a subwoofer, it’s crucial to avoid over-tightening the voice coil to prevent damage to the cone and voice coil assembly. Additionally, make sure to not allow any adhesive to come in contact with the voice coil as this can cause unwanted vibrations and affect sound quality. Always double-check the alignment of the voice coil during reassembly to avoid any rubbing against the pole piece, which can potentially damage the voice coil and affect overall performance.
Recommended Brands and Products for DIY Reconing
For reconing your subwoofer, it is recommended to use high-quality adhesive such as Loctite PL Premium Polyurethane Construction Adhesive for a secure and durable bond. When it comes to replacement recone kits, brands like Recone Kits and Simply Speakers offer a wide range of recone kits for various subwoofer models. These brands are known for their quality and compatibility, ensuring a successful reconing process for your subwoofer.
Summing up ‘How to Recone a Subwoofer – A Step-by-Step Guide for DIY Enthusiasts’
In conclusion, you now have the knowledge and steps necessary to recone your subwoofer with confidence. Remember to carefully follow each step in the process, from removing the old cone to gluing on the new one, to ensure the best results. By taking the time to recone your subwoofer, you can save money and extend the life of your audio equipment. Keep practicing and refining your skills, and soon you’ll be a pro at reconing subwoofers. Happy DIY-ing!
FAQ about How to Recone a Subwoofer – A Step-by-Step Guide for DIY Enthusiasts
Q: What is reconing a subwoofer?
A: Reconing a subwoofer involves replacing the cone, voice coil, and other components to restore or upgrade the performance of the subwoofer. It is a common practice to extend the life of a subwoofer or customize its performance to suit specific needs.
Q: Can I recone my subwoofer myself?
A: Yes, if you have the necessary technical knowledge and experience working with electronics. Reconing a subwoofer requires precision and attention to detail. If you are not confident in your skills, it is best to seek professional help to avoid damaging the subwoofer.
Q: What tools and materials do I need for reconing a subwoofer?
A: You will need a recone kit specific to your subwoofer model, adhesive, soldering iron, solder, wire cutters, screwdrivers, and other basic electronics tools. It is important to use high-quality materials to ensure the longevity and performance of the reconed subwoofer.
Q: What are the common mistakes to avoid when reconing a subwoofer?
A: Common mistakes include using incorrect parts, applying too much or too little adhesive, damaging the voice coil during installation, and not following the manufacturer’s specifications. It is crucial to carefully read and understand the recone kit instructions and seek guidance if needed.
Q: How can I ensure the success of the reconing process?
A: It is important to thoroughly research and understand the reconing process before starting. Carefully inspect the subwoofer and identify the specific components that need to be replaced. Take your time to complete each step with precision, and double-check your work to ensure everything is properly installed. If you encounter any difficulties, don’t hesitate to seek assistance from experienced individuals or professionals in the field.