Congratulations! You’ve just found the ultimate guide on how to repair a blown subwoofer without the need to spend a fortune on professional repairs. Whether you accidentally cranked up the volume too high or your subwoofer has simply worn out over time, this step-by-step guide will walk you through the entire process of fixing your blown subwoofer.
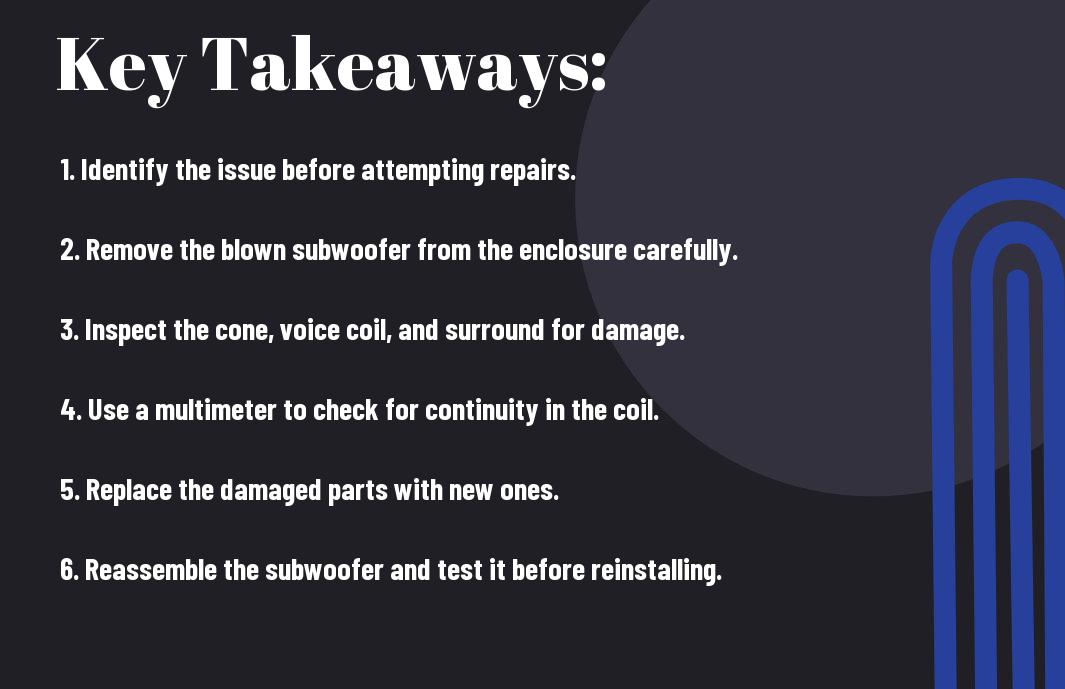
Key Takeaways:
- Identify the issue: Before attempting any repairs, it’s crucial to identify the specific problem with the subwoofer, such as torn or damaged cone, voice coil, or other components.
- Obtain the necessary replacement parts: Once the issue is identified, it’s important to obtain the right replacement parts, which may include a new cone, voice coil, or other components depending on the damage.
- Follow a step-by-step repair guide: To successfully repair a blown subwoofer, it’s essential to follow a step-by-step guide that outlines the process, from disassembling the subwoofer to installing the replacement parts and reassembling the unit.
Essential Tools and Safety Precautions
Assuming you are ready to repair your blown subwoofer, it is important to gather the necessary tools and take the appropriate safety precautions before you begin. Repairing a subwoofer can be a rewarding process, but it also requires the right equipment and a focus on safety to ensure a successful outcome.
Gathering Necessary Tools for Subwoofer Repair
Before starting the repair process, it is crucial to gather the essential tools you will need. This includes a multimeter, soldering iron, solder, replacement subwoofer cone or voice coil, and possibly a repair kit for speaker surrounds. Having the right tools on hand will help you complete the repair efficiently and effectively.
Emphasizing Safety Measures During the Repair Process
When repairing a subwoofer, it’s important to prioritize safety. The repair process often involves working with electrical components and heating elements, so it’s crucial to take the necessary precautions.
Make sure you have safety goggles, heat-resistant gloves, and a well-ventilated workspace. Additionally, always work with the subwoofer unplugged to avoid electrical shock, and be cautious when using the soldering iron to prevent burns. Your safety should be your top priority throughout the repair process.
Step-by-step Guide to Repairing a Blown Subwoofer
Your blown subwoofer can be a frustrating problem, but with the right guidance, you can repair it yourself and save the cost of a professional repair. Follow this step-by-step guide to learn how to repair your blown subwoofer and get it working like new again.
| Step 1 | Deconstruction of the Subwoofer |
| Step 2 | Analyzing the Damage |
| Step 3 | Repairing the Damage |
| Step 4 | Testing the Repaired Subwoofer |
Deconstruction of the Subwoofer: Stage-by-Stage Instruction
When deconstructing your blown subwoofer, it’s important to proceed with caution. Start by removing the subwoofer from its enclosure, and then carefully disassemble the outer casing to access the internal components.
Be sure to keep track of the screws and parts you remove, as you’ll need to reassemble the subwoofer later. Take note of any visible damage, such as torn speaker cones or damaged wiring, as this will help you identify the repairable parts.
Analyzing the Damage: Identifying the Repairable Parts
Once you have deconstructed the subwoofer, carefully inspect each component for damage. Look for signs of physical damage, such as torn or dented speaker cones, as well as any burnt or damaged wiring. Identify the parts that can be repaired, such as torn cones that can be patched or rewired connections.
Inspect the amplifier and crossover components for any signs of damage as well. Properly identifying the repairable parts will help you determine the type of repair needed to fix your blown subwoofer.
Tips for Ensuring Quality Repair and Long-term Functionality
Lastly, once you have completed the repair of your blown subwoofer, it is essential to take some measures to ensure that your repair work will last and that your subwoofer will function properly in the long term. Here are some tips to help you achieve quality repair and long-term functionality:
- Use high-quality replacement parts to ensure durability and reliability.
- Pay attention to proper installation and wiring to prevent future damage.
- Regularly monitor the functioning of your subwoofer to detect any issues early on.
Recognizing these tips will go a long way in ensuring the quality and longevity of your repaired subwoofer.
Techniques for Quality Subwoofer Repair
When repairing a blown subwoofer, it is crucial to use the proper techniques to ensure the quality of the repair. This includes identifying the root cause of the damage, carefully removing the damaged parts, and skillfully replacing them with new components. It is essential to follow a step-by-step process to ensure that the repair is thorough and effective.
Maintenance Tips to Prevent Future Subwoofer Damage
After repairing a blown subwoofer, it is important to implement maintenance practices to prevent future damage. This includes regularly cleaning the subwoofer, performing routine checks on the wiring and connections, and keeping an eye out for any signs of wear or tear. Knowing how to properly maintain your subwoofer will help prevent future damage and extend its lifespan.
- Regularly clean and dust the subwoofer to prevent accumulation of debris.
- Check the wiring and connections for signs of damage or loose connections.
- Keep an eye out for any unusual sounds or vibrations coming from the subwoofer.
Conclusively, repairing a blown subwoofer is an achievable task for beginners when you follow the step-by-step guide provided. By identifying the issue, removing the damaged parts, and finding suitable replacements, you can effectively restore your subwoofer to optimal performance.
Remember to take your time and be patient throughout the process, and soon enough you will have a fully functioning subwoofer once again. With the right tools and knowledge, you have the ability to successfully repair your blown subwoofer and enjoy high-quality sound once more.
FAQ
Q: What are the signs that indicate a blown subwoofer?
A: Signs of a blown subwoofer include distorted or muffled sound, lack of bass, or no sound at all. Additionally, a visual inspection may reveal physical damage such as a torn or damaged cone or a burnt voice coil.
Q: Can a blown subwoofer be repaired?
A: Yes, a blown subwoofer can be repaired. In some cases, the damage may be minor and easily fixable with basic tools and replacement parts.
Q: What tools are needed to repair a blown subwoofer?
A: Common tools for repairing a blown subwoofer include a screwdriver, soldering iron, multimeter, replacement cone or voice coil, and adhesive. It is also helpful to have access to an online guide or tutorial specific to your subwoofer model.
Q: How do I determine the extent of the damage to my subwoofer?
A: To determine the extent of the damage, you can visually inspect the subwoofer for any physical damage such as a torn cone or a burnt voice coil. Additionally, using a multimeter to test for continuity and resistance can help identify any electrical issues.
Q: What are the basic steps to repair a blown subwoofer?
A: The basic steps to repair a blown subwoofer include disassembling the subwoofer, identifying the damaged components, removing and replacing the damaged parts, and reassembling the subwoofer. It is important to follow a step-by-step guide specific to your subwoofer model to ensure a successful repair.