So you’ve got your hands on a Rockville subwoofer and amp, and now you’re ready to take your car audio system to the next level. Installing a subwoofer and amp may seem like a daunting task, but with the right guidance, it can be a relatively straightforward process. In this guide, we will walk you through the step-by-step process of installing your Rockville subwoofer and amp, from finding the right location for your equipment to connecting it to your car’s electrical system. It’s important to note that working with car electronics can be dangerous if you don’t know what you’re doing, so always take the necessary safety precautions and consult a professional if you’re unsure about any steps.
Key Takeaways:
- Proper Wiring: Ensuring the subwoofer and amp are wired correctly is crucial for optimal performance. Use high-quality wiring and make sure to follow the manufacturer’s instructions for the best results.
- Placement is Key: Where you place the subwoofer and amp in your car can greatly impact the sound quality. Experiment with different positions to find the best spot for optimal bass response.
- Tuning and Testing: Once the installation is complete, take the time to properly tune and test the subwoofer and amp. This will help you get the most out of your new setup and ensure everything is working properly.
Necessary Equipment and Setup
If you want to install a Rockville subwoofer and amp, there are a few essential pieces of equipment that you will need. The first thing you will need is the subwoofer and amp itself, of course. You will also need a power drill, wiring, a mounting kit, and possibly a saw to cut holes for the subwoofer. It’s important to have a clean workspace and all the necessary tools at your disposal before starting the installation process.
Detailed List of Necessary Installation Tools
Before you begin the installation, make sure you have all the necessary tools. This includes a power drill, wiring, mounting kit, and possibly a saw to cut the necessary holes for the subwoofer. You will also need screwdrivers, wire cutters, and wire strippers to properly connect the subwoofer and amp to your car’s electrical system. It’s important to have all the necessary tools at hand to avoid unnecessary delays during the installation process.
Creating the Ideal Environment for Installation
When installing a subwoofer and amp, it’s crucial to have a clean and well-lit workspace. Make sure you have enough room to move around and access all the necessary components without any hindrances. Additionally, ensure that the area is well-ventilated to prevent the buildup of fumes or gases while working with electrical components. Before starting the installation, disconnect the car battery to prevent any potential electrical hazards.
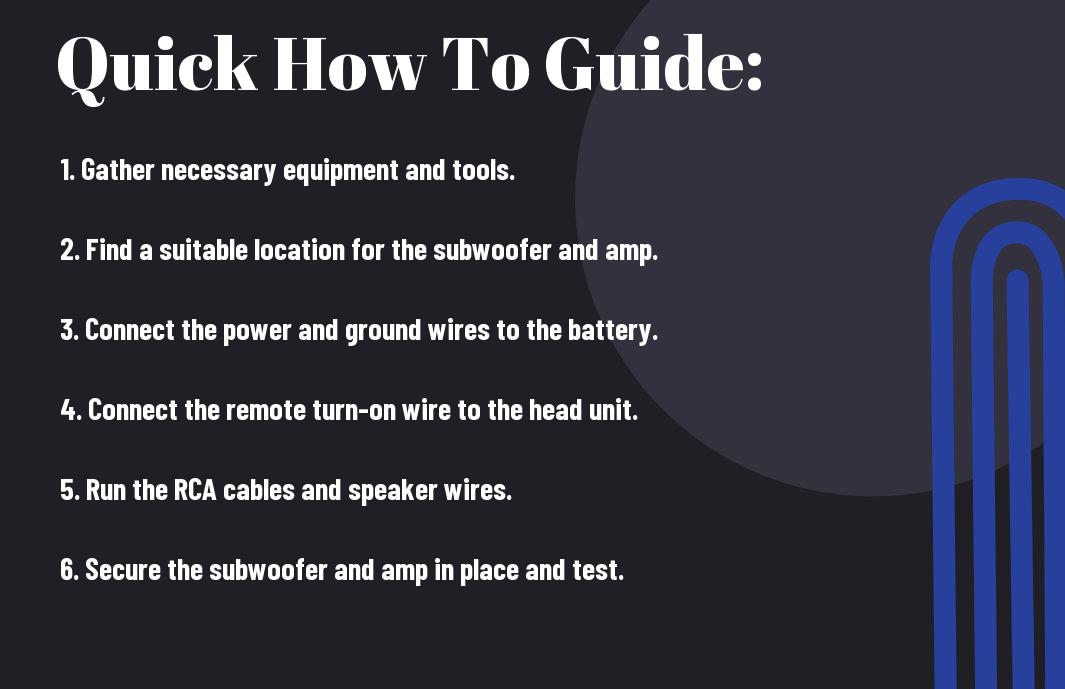
Step-by-Step Installation Guide
After you have gathered all the necessary tools and materials, it’s time to start the installation process. Below is a detailed step-by-step guide to help you with the installation of your Rockville subwoofer and amp.
How to Install the Rockville Subwoofer: A Step-By-Step Guide
Before you begin the installation of the subwoofer, it is important to ensure that your vehicle’s electrical system can handle the additional power draw. Here is a step-by-step guide to installing the Rockville subwoofer:
| Step 1: | Find a suitable location in your vehicle to mount the subwoofer enclosure. |
| Step 2: | Connect the power wire from the subwoofer to the positive terminal of the car battery. |
| Step 3: | Run the remote turn-on wire from the subwoofer to the amplifier. |
| Step 4: | Connect the RCA cables from the head unit to the amplifier. |
Tips and Tricks for Installing an Amp
When installing an amp, it’s important to take certain precautions to ensure a smooth and safe installation process. Here are some tips and tricks to keep in mind:
- Plan your wiring carefully: Before you start the installation, carefully plan out the routing of the power, ground, and signal wires to avoid any potential issues.
- Use proper wire gauge: It’s crucial to use the correct gauge of wire for your amp to prevent overheating and potential fire hazards.
- Secure all connections: Make sure to secure all wire connections with crimp connectors or soldering to prevent any loose connections.
Perceiving these important details will ensure a successful installation of your Rockville subwoofer and amp system.
Factors to Consider
To ensure the successful installation and optimal performance of your Rockville subwoofer and amp, there are several factors you need to consider. These factors will help you make informed decisions and maximize the potential of your audio system.
- Compatibility with your car’s electrical system
- Available space for installation
- Power handling and RMS ratings
- Sound quality preferences
- Budget for additional accessories or modifications
Knowing these factors will guide you in selecting the right components and planning the installation process.
Factors Affecting Subwoofer Performance
When installing a subwoofer, there are several factors that can affect its performance. The type and size of the subwoofer, enclosure design, placement in the vehicle, and power handling capabilities all play crucial roles in the subwoofer’s output and sound quality. Perceiving how these factors interact with each other will help you optimize the bass reproduction in your car audio system.
Factors Affecting Amp Performance
After installing the amplifier, it’s essential to consider the amplifier’s power output, heat dissipation capabilities, and signal-to-noise ratio. These factors directly impact the overall performance and reliability of the amplifier. After verifying these specifications, you can ensure that the amplifier will provide clean, powerful, and distortion-free sound to your subwoofer.
Conclusion
So now that you have followed the step-by-step instructions on how to install a Rockville subwoofer and amp, you should be enjoying the enhanced sound quality in your vehicle. Remember, it’s important to always double-check your connections and ensure everything is secure before powering on your system. By following these guidelines, you can have a professional-grade audio setup without the need for professional installation. Enjoy the deep bass and powerful sound that your new subwoofer and amp provide!
FAQ
Q: What tools and materials do I need to install a Rockville subwoofer and amp?
A: You will need a power drill, wire cutters, wire strippers, a screwdriver set, and a wiring kit specifically designed for car audio installations. You will also need a Rockville subwoofer and amp, as well as appropriate wiring and connectors.
Q: Where should I place the subwoofer and amp in my car?
A: The subwoofer should be placed in the trunk of the car for optimal bass performance. The amplifier can be securely mounted under a seat or in the trunk, but it should be placed in a location that allows for proper airflow and minimizes the risk of damage from objects in the car.
Q: How do I connect the subwoofer and amp to my car’s electrical system?
A: You will need to connect the power wire from the amp to the car’s battery, ensuring that you use a fuse within 18 inches of the battery terminal. The ground wire should be connected to a solid metal part of the car’s chassis. Additionally, you will need to run a remote turn-on wire from the amp to the head unit in the car.
Q: What is the best way to wire the subwoofer to the amp?
A: The subwoofer should be wired to the amp using the appropriate gauge speaker wire. Ensure that the positive and negative terminals on both the subwoofer and the amp are connected correctly. It is important to use the correct impedance for your subwoofer to avoid damaging the amp.
Q: How do I configure the settings on the amp for best performance?
A: Once the subwoofer and amp are installed, you will need to configure the settings on the amp to optimize performance. This includes adjusting the gain, low-pass filter, and bass boost settings to match the specifications of your subwoofer and your personal listening preferences.