Are you experiencing a dreaded ripped subwoofer cone and don’t want to spend a fortune on a replacement? You’re in luck! Today, we’re going to walk you through a step-by-step DIY repair guide on how to fix a ripped subwoofer cone so you can enjoy your favorite tunes once again.
We’ll cover the tools and materials you’ll need, how to safely remove the cone, the proper repair technique, and some helpful tips to ensure a successful fix. Keep reading to learn how you can save money and breathe new life into your subwoofer!
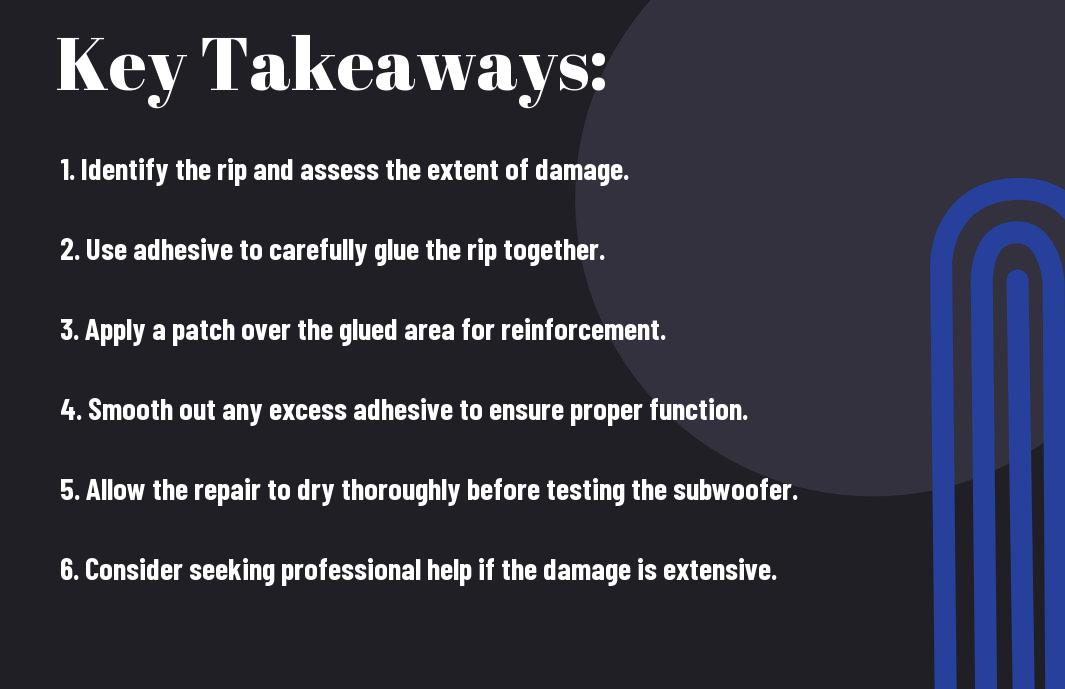
Key Takeaways:
- Assess the Damage: Before attempting to fix a ripped subwoofer cone, carefully assess the extent of the damage to determine if it is repairable or if a replacement is necessary.
- Use the Right Materials: When repairing a ripped subwoofer cone, make sure to use the appropriate materials such as speaker repair adhesive, silicone, and a patching material like paper or cloth to ensure a strong and durable fix.
- Take Your Time: Repairing a ripped subwoofer cone is a delicate process that requires patience and attention to detail. Take your time to properly apply and secure the patching material to avoid further damage to the cone.
Assessing the Damage
One of the first steps in fixing a ripped subwoofer cone is to assess the extent of the damage. This will help you determine the best course of action for a successful repair. There are a few key things to look for when assessing the damage to your subwoofer cone.
Identifying the Type of Tear
When assessing the damage to your subwoofer cone, it’s important to identify the type of tear. If the tear is a clean break or split, it may be easier to repair using a patch or adhesive. On the other hand, if the tear is jagged or extensive, it may require more complex repair methods such as re-coning or replacement.
Assessing the Extent of the Damage
Take a close look at the entire cone to assess the extent of the damage. Look for any additional tears, holes, or deformities. Pay attention to any damage to the surround, spider, or voice coil as well. It’s important to assess the entire subwoofer to determine if the damage is localized or if it has affected other components. This will help you determine the scope of the repair needed.
Gathering the Necessary Tools
Now that you’ve identified the problem with your subwoofer cone, it’s time to gather the necessary tools for the repair. You want to make sure you have everything you need before you begin the repair process to avoid frustration or delays. Here’s a list of essential tools and materials you will need to fix a ripped subwoofer cone.
Selection of Adhesive
When it comes to repairing a ripped subwoofer cone, selecting the right adhesive is crucial to the success of your repair. You need a strong, flexible adhesive that can bond to the cone material and withstand the vibrations of the speaker. Look for a specialized adhesive designed for repairing speaker cones. It is important to avoid household adhesives as they may not provide a secure bond and can potentially damage the cone further.
Other Required Tools for Repair
In addition to the adhesive, you will need a few other essential tools to complete the repair. You will need a sharp utility knife or scissors to trim any loose or frayed edges of the ripped cone. You will also need a small paintbrush or applicator to apply the adhesive evenly to the damaged area. It is important to work in a well-ventilated area and wear protective gloves when handling adhesives.
Step-by-Step Guide to Fixing a Ripped Subwoofer Cone
Lastly, let’s go through the step-by-step process of fixing a ripped subwoofer cone. This DIY repair can save you a lot of money and help extend the life of your subwoofer.
Preparation for Repair
Before you begin the repair process, it’s important to gather all the necessary materials and tools. You will need a replacement cone, a cone repair kit (including glue and a brush), a utility knife, a small brush or roller, and a pair of scissors. Make sure you have a clean, well-lit workspace to perform the repair.
Detailed DIY Repair Process
Now that you have everything you need, it’s time to start the repair process. Here’s a step-by-step breakdown of the process:
Caring for Your Subwoofer Post-Repairs
Your subwoofer is now repaired and ready to deliver booming bass once again. However, it’s important to take proper care of it to ensure that it remains in good condition. Here are a few tips to help you maintain your subwoofer post-repairs.
Preventive Measures for Future Damage
After repairing your subwoofer cone, it’s essential to take measures to prevent future damage. One of the best ways to protect your subwoofer is to set up proper audio system and ensure that it is not being overpowered. Additionally, consider adding a grille to protect the cone from accidental damage.
Regular Maintenance Tips
Regular maintenance is key to prolonging the life of your subwoofer. Make it a habit to check for any signs of wear and tear, such as tears or punctures on the cone. Periodically inspect the speaker surround and the speaker wire connections to ensure they are in good condition. Additionally, consider using a dust cover when the subwoofer is not in use to keep it free from dust and debris. Knowing when to make small repairs can save you from having to undertake more costly repairs down the line.
- Check for tears or punctures on the cone
- Inspect the speaker surround and speaker wire connections
- Use a dust cover when the subwoofer is not in use
The Conclusion
The process of fixing a ripped subwoofer cone may seem daunting at first, but with the right tools and techniques, you can successfully repair it yourself. By following the steps outlined in this DIY repair guide, you can save yourself the cost of buying a new subwoofer and extend the life of your current one. Remember to always take your time and be patient when making the repair, and soon enough, you’ll be enjoying the deep, rich sound of your subwoofer once again.
FAQ
Q: What can cause a ripped subwoofer cone?
A: A ripped subwoofer cone can be caused by over-excursion, physical damage, or deterioration due to age and use.
Q: Can a ripped subwoofer cone be repaired?
A: Yes, a ripped subwoofer cone can be repaired using a DIY repair guide and some basic tools.
Q: What tools are needed to fix a ripped subwoofer cone?
A: To fix a ripped subwoofer cone, you will need a repair kit, adhesive, a utility knife, and a screwdriver.
Q: Is it a difficult process to repair a ripped subwoofer cone?
A: Repairing a ripped subwoofer cone can be a moderately difficult process, but with patience and attention to detail, it can be successfully completed.
Q: How long does it take to repair a ripped subwoofer cone?
A: The time it takes to repair a ripped subwoofer cone can vary depending on the extent of the damage, but on average, it can take anywhere from 1 to 2 hours to complete the repair.